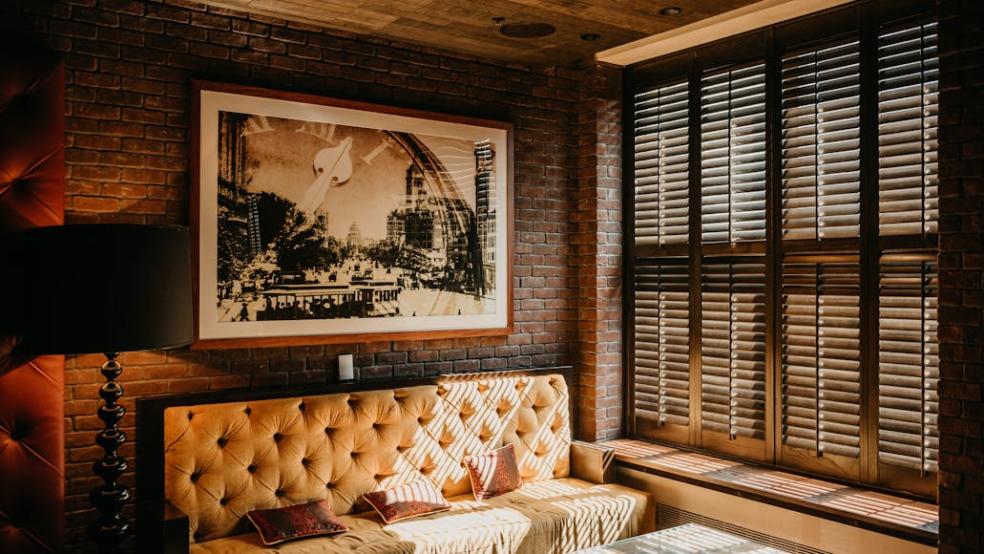
How to install plantation shutters for any window shape
Plantation shutters are a timeless addition to any home, offering both aesthetic appeal and functional benefits. Whether you’re aiming to enhance your interior decor or seeking better control over light and privacy, plantation shutters DIY provides a versatile solution.
Plantation shutters come in various styles, each tailored to suit different window designs and personal preferences. By choosing the right type of shutter and following a systematic installation process, you can achieve professional-looking results without the need for expert assistance.
Types of shutters
Understanding the different types of plantation shutters DIY is essential before embarking on your DIY installation. Each style offers unique features and benefits, catering to diverse window shapes and design preferences.
- Full height shutters
Full height shutters cover the entire window, extending from the top to the bottom. They are ideal for large windows and provide maximum light control and privacy.
These shutters are versatile and can be customized to fit any window shape, including arched or angled designs. Their complete coverage ensures a seamless look, enhancing the overall aesthetic of your room.
- Cafe style shutters
Cafe style shutters are a popular choice for kitchens and lower windows. They only cover the lower half of the window, allowing more light to enter while maintaining privacy.
This style is perfect for creating a cozy atmosphere without sacrificing natural light. Additionally, cafe shutters are easier to install due to their smaller size, making them a great option for DIY enthusiasts.
- Tier on tier shutters
Tier on tier shutters consist of two separate panels that can be adjusted independently. This design allows for flexible light control and ventilation, making them suitable for larger or multi-window installations.
By adjusting each tier, you can customize the level of light and privacy based on your needs. This type is particularly effective for wide windows or doors, providing a balanced and elegant look.
- Solid panel shutters
Solid panel shutters feature larger panels with fewer slats, offering a more contemporary and minimalist appearance. They are perfect for modern interiors where a sleek and streamlined look is desired.
These shutters provide excellent insulation and light control, making them both functional and stylish. Their simple design also makes installation straightforward, even for unconventional window shapes.
- Tracked shutters
Tracked shutters operate on a sliding mechanism, allowing them to be easily opened and closed. This type is ideal for windows that are frequently used, such as patio doors or large sliding windows.
Tracked shutters offer smooth operation and can accommodate various window sizes and shapes. Their practicality and ease of use make them a favorite among homeowners seeking both functionality and elegance.
Step-by-step installation process
With your measurements and preparations complete, follow these steps to install your plantation shutters DIY:
- Mark the mounting position
Decide whether you want to mount the shutters inside the window frame (inside mount) or outside (outside mount). Inside mounts provide a cleaner look but require precise measurements, while outside mounts can cover window imperfections and add a decorative element.
Use a pencil and level to mark the top and bottom positions for the shutter hinges. Ensure that your marks are level to avoid any tilting of the shutters.
- Install the header and sill
Attach the header (top piece) and sill (bottom piece) to the window frame using screws. Ensure that they are securely fastened and level. These components provide the foundation for your shutters and must be installed accurately for the shutters to function properly.
- Attach the shutter hinges
Position the shutter hinges along the header and sill, aligning them with your markings. Use a drill to secure the hinges in place. Make sure the hinges are evenly spaced to support the weight of the shutters and allow for smooth operation.
- Mount the shutters
With the hinges installed, carefully place the shutters onto the hinges. Ensure they are properly aligned and can open and close without obstruction. Make any necessary adjustments to achieve a perfect fit.
- Install the latch and handles
Attach the latch and handles to the shutters according to the manufacturer’s instructions. These components allow you to secure the shutters in place and provide a means of opening and closing them. Test the functionality to ensure everything operates smoothly.
- Final adjustments
Check the alignment and operation of the shutters. Make any final adjustments to ensure they are level and operate without issues. Tighten all screws and ensure that the shutters are securely mounted.
Customizing your shutters
Personalizing your plantation shutters DIY can enhance their appearance and better match your home’s décor. Consider the following customization options:
- Color and finish
Choose from a wide range of colors and finishes to complement your interior design. Whether you prefer a classic white, a bold color, or a natural wood finish, there’s a shutter option to suit your taste.
- Slat size and orientation
Select slat sizes that match your aesthetic preferences and functional needs. Wider slats offer a more substantial look and better light control, while narrower slats provide a more delicate appearance.
- Decorative molding
Add decorative molding to your shutters for an elegant touch. Molding can enhance the visual appeal and make your shutters stand out as a focal point in the room.
- Custom shapes
For uniquely shaped windows, such as arched or circular designs, custom shutters can be crafted to fit perfectly. Work with a manufacturer that offers bespoke solutions to ensure your shutters complement your window’s architecture.
Installing plantation shutters DIY for any window shape is a manageable project with the right guidance and preparation. By understanding the different types of shutters, accurately measuring your windows, and following a step-by-step installation process, you can achieve professional results that enhance your home’s beauty and functionality. Regular maintenance and thoughtful customization further ensure that your shutters remain a valuable and attractive feature for years to come.
Visit this page for more details and resources on plantation shutters DIY.


