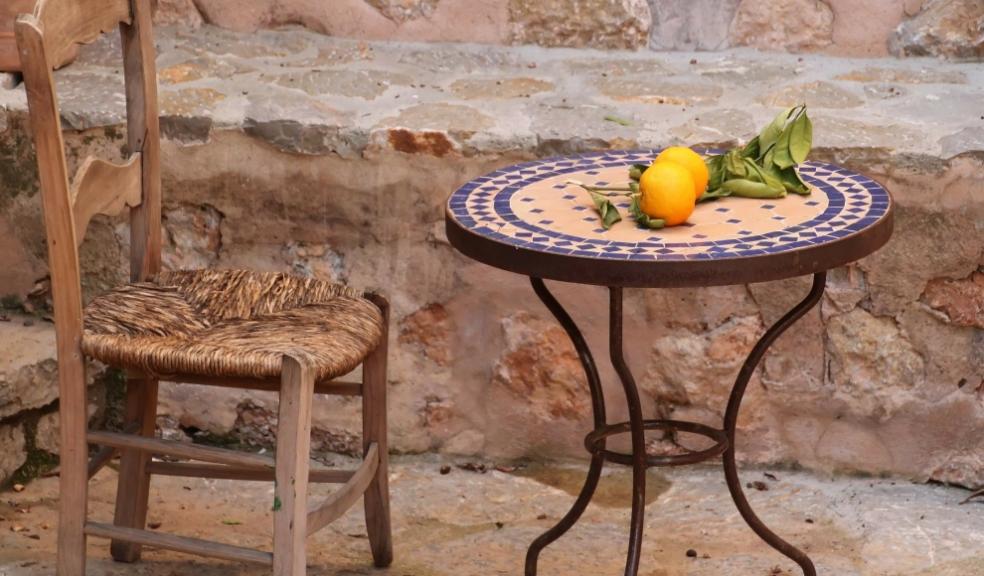
How to up-cycle a mosaic table
We all have that odd side table or spare chair that doesn’t quite fit with the rest of the furniture in our home, but before you get rid of it or hide it away in a spare room, think about ways you could give it a new lease of life!
While many may think of upcycling as a challenging process, there are many projects are much simpler and cost effective than you might think, especially with 3 for 2 deals on coloured emulsion from B&Q. Craig Collins, Head of Category, Paint & Lighting at B&Q, shares his tips on how to give an old side table some flair with this easy guide:
Step 1: Start by carefully checking the table for and scuffs or scrapes, as well as any rough patches of wood. Carefully sand these areas down using either an orbital sander or medium grit sandpaper to give you a completely smooth finish. Make sure to pay close attention to any hard to reach areas, such as decorative legs to make sure any remaining glossy finish is removed.
Step 2: Next, it’s time to create a border for your mosaic to sit in. First, you’ll need to decide how large you want your mosaic centrepiece to be, then, using a tape measure and a pencil measure and mark out four lengths of trimming to create your border.
Once you’ve measured out these pieces of trimming, reach for a mitre box and a fine-tooth saw to help you cut your borders to size at a perfect 45 ° angle.
Step 3: Now’s the time to get your trimming fixed into place. Carefully line up your trimmings and then, one at a time; gently tack them into place using lost head nails and a hammer.
Step 4: Once the borders are in place, it’s time to give your table a fresh lick of paint. Opting for a self-priming paint will help to make the application process easier. Mix your paint thoroughly and apply a thin even layer. Make sure to give your first coat enough time to dry before applying a second coat.
Finally, once your second coat is dry, finish with a coat of furniture lacquer to help seal and protect your newly painted surface.
Step 5: While your lacquer is drying you can get started on one of the most exciting element of this project, creating your own mosaic tiles! For larger, more irregular shaped tiles, grab a claw hammer and rubble sack, place your tile inside the bag and give it a gentle tap with a hammer to break it into 3 - 4 pieces.
To create more even, precise shapes, you can use tile nippers; just make sure you have safety goggles to protect your eyes, thick gloves, and a bucket to catch any loose clippings.
Step 6: It’s time to get creative! Use your assortment of mosaic tiles to create a pattern on the top of your table. Once you’re happy with your design, mix up your tile adhesive and apply a small amount to the back of each tile one by one, pressing them down to create an even surface.
Step 7: Once your adhesive is fully dry it’s time to mix up and apply some grout. Make sure to wear latex gloves, and be careful of any sharp edges as you press the grout down into the gaps in between your tiles. Remove any excess grout before it begins to set. Finally, once the grout is dry, take a damp sponge and wipe it across the top of your design to clear away any excess.
You’re all done! Top tip: make sure to leave your table out overnight so the grout dries fully before putting anything on top of it.
Toolkit
To sand your table:
- Mac Allister Corded 160W 220-240V Detail sander MSDLS160, £20
- Ryobi Mixed grit Palm Sanding sheet (L)110mm (W)110mm, Pack of 20, £12.85
OR
To cut your tiles:
To paint your table:
To trim the borders:
Safety equipment:


